Configuration Guide
Set up n8n version control in three steps: install the extension, register your domain, and connect GitHub.
1. Install the Extension
First, make sure you have installed the n8n2git Chrome extension from the Chrome Web Store. If you haven't installed it yet, you can do so from the Chrome Web Store.
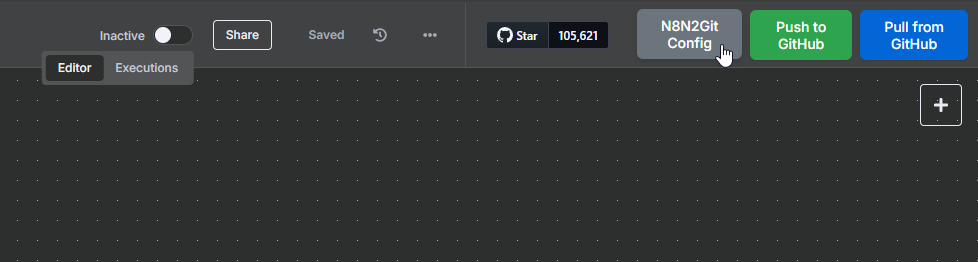
If the N8N2Git top bar is not showing, please reload the page after installing the extension.
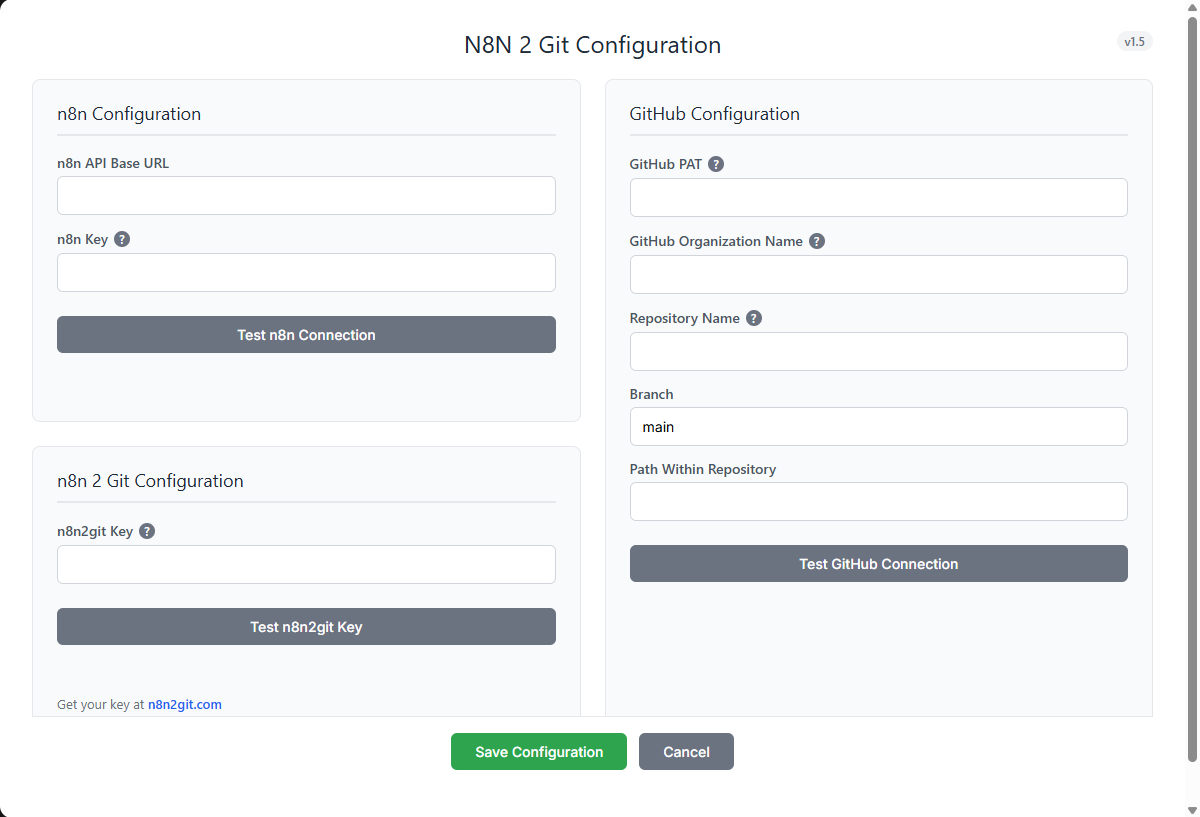
N8N2Git Configuration Screen
2. Configure the Extension
Now that you have the extension installed, you can open the configuration screen by clicking the N8N2Git Config button in your N8N2Git top bar.
3. n8n Configuration
Find your Key in n8n under: Settings → n8n API. Create a new API key.
Test your key by clicking the "Test n8n Connection" button.
3. n8n 2 Git Configuration
Register your domain in n8n2git.com. After registering, you will receive your n8n2git key.
Test your key by clicking the "Test n8n2git Key" button.
4. Configure GitHub Access
To allow the extension to access your GitHub repositories, you need to:
- Go to your GitHub account settings
- Navigate to "Developer settings" → "Personal access tokens" → "Tokens (classic)"
- Generate new token (classic) following scope:
- repo
- Copy the generated token
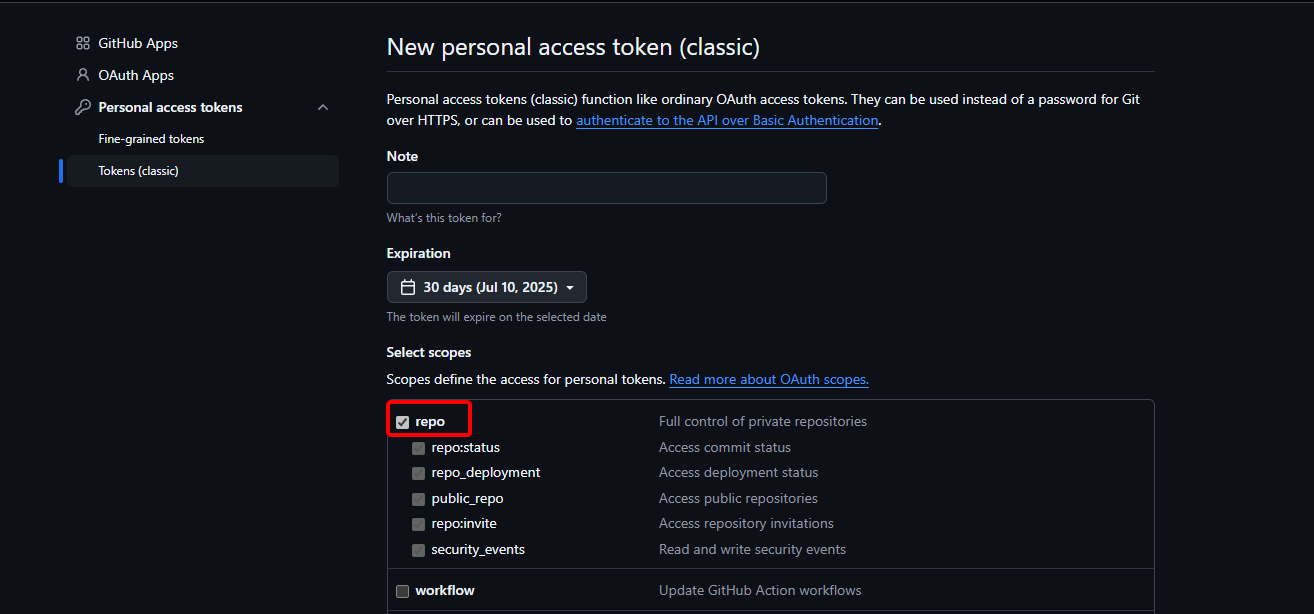
GitHub Personal Access Token Configuration
5. Verify Configuration
To verify your configuration:
- Open your n8n instance
- Go to any workflow
- You should see new buttons for pushing to and pulling from GitHub
- Try pushing a workflow to verify everything is working
Need Help?
If you encounter any issues during configuration, please contact us at [email protected]